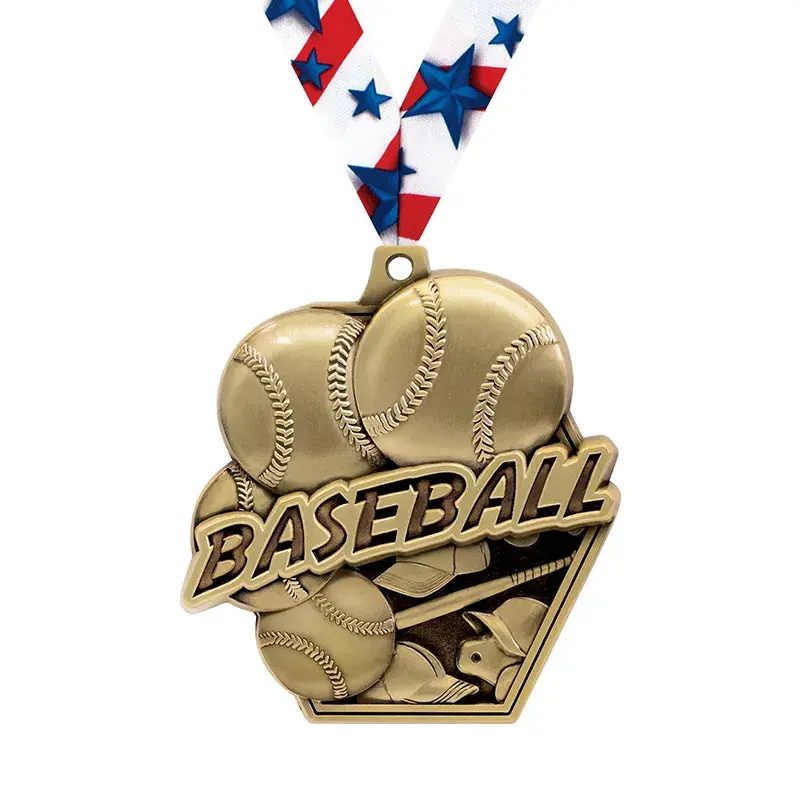
Most medal design idea lists stop at the pretty picture. That’s the easy half. The hard half is knowing which ideas survive contact with a die-casting press — because a design that looks striking in a mockup can be unmakeable, or makeable only at a price nobody wants to pay. We design custom medals in-house and cast them in Huizhou, so here are 25 concepts grouped by what they cost you in production.
What we’ll cover:
- 25 design ideas grouped by shape, relief, enamel, and finish
- The production limits that decide whether an idea is makeable
- Why some shapes cost more than others for the same artwork
- How to brief a design so the proof comes back right the first time
[Image: design.webp — A collection of custom medal designs showing varied shapes, reliefs, and finishes]
Shape-Led Ideas (1–7): The Silhouette Does the Work
Shape is the first decision because it’s the hardest to change later. Once the mold is cut, your silhouette is set. These seven ideas lead with shape.
1. Classic round. The default for a reason. Balances on a ribbon, fits every standard box, photographs cleanly. If you have no strong concept, go round and spend your budget on relief instead.
2. Custom logo silhouette. Your emblem cut as the medal’s outline rather than sitting inside a circle. This is where die-casting earns its keep, because zinc alloy handles the thin sections and undercuts that stamping can’t.
3. Route or course map. A race medal shaped around the actual route outline, with the course as negative space. Cutouts require casting, so this is a zinc alloy-only idea. It’s one of the trends race directors are ordering right now — see our roundup of marathon medal trends 2026.
4. Shield or crest. Reads formal and institutional. Strong for academic, service, and military awards, weaker for a mass-participation fun run.
5. Star or burst. High-energy and instantly legible from across a room. Works well for achievement awards and sales recognition.
6. Bottle opener. Dual-function shape with a working opener built into the lower edge. Practical enough that people actually keep it. We detail the engineering on our bottle opener medals page, and our custom bottle opener medals guide covers the design and safety details.
7. Spinning center. A rotating inner disc inside a static outer ring. Mechanically the most complex shape we run, and the one that draws the most attention on a display table. See spinning medals.
[Image: custom-shaped-medals.jpg — Custom silhouette medals cut to a mascot outline]
Relief and Texture Ideas (8–14): Depth You Can Feel
Relief is what separates a medal that feels manufactured from one that feels made. It’s also where the die-casting press does its best work — and where zinc alloy’s 385°C flow rate becomes a design tool rather than a manufacturing detail.
8. 3D sculpted figure. A raised central figure with genuine depth. Our 88-ton press captures this in a single shot, which is why sculpted relief is affordable in zinc and expensive or impossible in stamped metals.
9. Stepped or tiered relief. Multiple depth planes — background, mid-layer, foreground — giving the design a diorama quality.
10. Sandblasted background. A frosted matte field behind polished raised elements. The contrast makes the raised work look sharper without adding material.
11. Diamond-cut facets. Angular cut surfaces that catch light from different angles. Popular on achievement medals because the sparkle reads as value.
12. Guilloche texture. Fine repeating line patterns in the background, traditionally used on currency. Adds a layer of quality that’s hard to replicate by printing.
13. Epoxy dome. A clear resin dome over a printed or enamel surface. Protects the artwork and adds a wet, dimensional look.
14. Wood and metal combination. A zinc alloy face set into a wooden body. We’ve run these as commemorative pieces where warmth matters. Slower to produce, so plan for a longer lead time.
[Image: process-03-die-casting.jpg — Die-casting press forming 3D relief on medal blanks]
Enamel and Color Ideas (15–20): Where Color Carries Meaning
Enamel is the colored fill in your recessed areas. These six ideas are all about using color deliberately rather than decoratively — because every color is a separate fill-and-bake cycle, and color count is a real cost line.
15. Soft enamel with raised metal lines. The tactile standard. Fills recesses as narrow as 0.3mm and cures slightly sunken, so the metal lines stay proud. Feels substantial in the hand.
16. Imitation hard enamel, ground flat. Needs a 0.5mm recess, goes on thicker, then gets ground flat and polished smooth. The ceramic-like surface is the most formal option. We compare both on our enamel medals page.
17. Pantone-matched brand colors. We work to Pantone references, so your enamel matches your brand guide. Worth insisting on if your medal is part of a larger brand system.
18. Translucent enamel. Semi-transparent fill that lets the metal underneath show through. Reads as glass or gemstone. Excellent over a bright plating.
19. Glitter or glow fill. Embedded glitter for sparkle, or glow-in-the-dark pigment for evening events. Both are novelties that genuinely work on a night race.
20. Full-color UV print. Four-color process printed directly onto flat or slightly contoured surfaces, with tolerance for up to about 7mm of relief drop. The only way to reproduce gradients, photographs, and finely shaded sponsor logos.
[Image: process-09-color-filling.jpg — Technician applying enamel color fill to recessed medal areas]
Finish and Function Ideas (21–25): The Last Layer
Finish is your most flexible lever because it doesn’t require new tooling. You can change it late, and in some cases changing it saves money.
21. Antique bronze or antique tin. Dark, aged, matte. Cheaper than mirror plating because it uses single-pass electrophoresis or barrel plating, and it hides scratches better than a bright finish.
22. Dual-tone plating. Two finishes on one medal — imitation gold with nickel is the most common pairing. Adds a masking step, costs more, and gives the strongest visual upgrade per dollar.
23. LED integration. A light-up element powered by a small cell battery. Reserved for events where the medal needs to work after dark. Details on our LED medals page.
24. Custom ribbon. Full-color sublimated ribbon carrying your event branding. One of the lowest-cost upgrades available and the first thing anyone touches.
25. Display pairing. Design the medal with its housing from the start — a fitted velvet box or a display hanger. Medals designed in isolation often don’t sit right in the stand they were meant for.
The Production Limits That Decide What’s Makeable
Here’s the part most idea lists leave out. Four limits determine whether your concept survives production, and each one rules certain ideas in or out.
| Limit | Constraint | Ideas it rules out |
|---|---|---|
| Enamel fill width | Soft enamel fills to 0.3mm; hard enamel needs 0.5mm | Hairline color details, fine line art in fill |
| Wall thickness | 2mm minimum for die-cast zinc | Very thin bridges, delicate filigree |
| Draft and undercuts | Cast features need draft to release from the mold | Deep undercuts without added tooling |
| Print relief tolerance | UV print handles up to ~7mm relief drop | Full-color print across tall sculpted relief |
Two of these matter more than the rest. Minimum enamel width rules out the fine line work that designers used to printing naturally reach for, and it’s the single most common reason a proof comes back altered. Minimum wall thickness is what stops a delicate filigree concept from casting reliably — at 2mm, thin metal cools before the cavity fills, and you get short shots rather than sharp detail.
The practical rule: decide what the medal must communicate, then let your designer work within these four limits rather than presenting artwork and hoping.
Briefing Your Design So the Proof Comes Back Right
Three things make the difference between a proof you approve on sight and three rounds of revisions.
Bring vector artwork if you have it — AI, EPS, or CDR. A JPEG logo isn’t production-ready, and someone has to redraw it. That’s not a problem, it’s just step one, and it’s free with us, but vector saves a day.
State your enamel colors explicitly, as Pantone references where possible. “Blue” means something different to every designer, and color count drives cost.
And tell us how the medal will be used. A finisher medal gets worn against skin and photographed at chest height. A recognition medal sits on a desk in a stand. A kids’ event medal goes into a small hand. Each use pushes the design in a different direction on size, attachment, and edge safety.
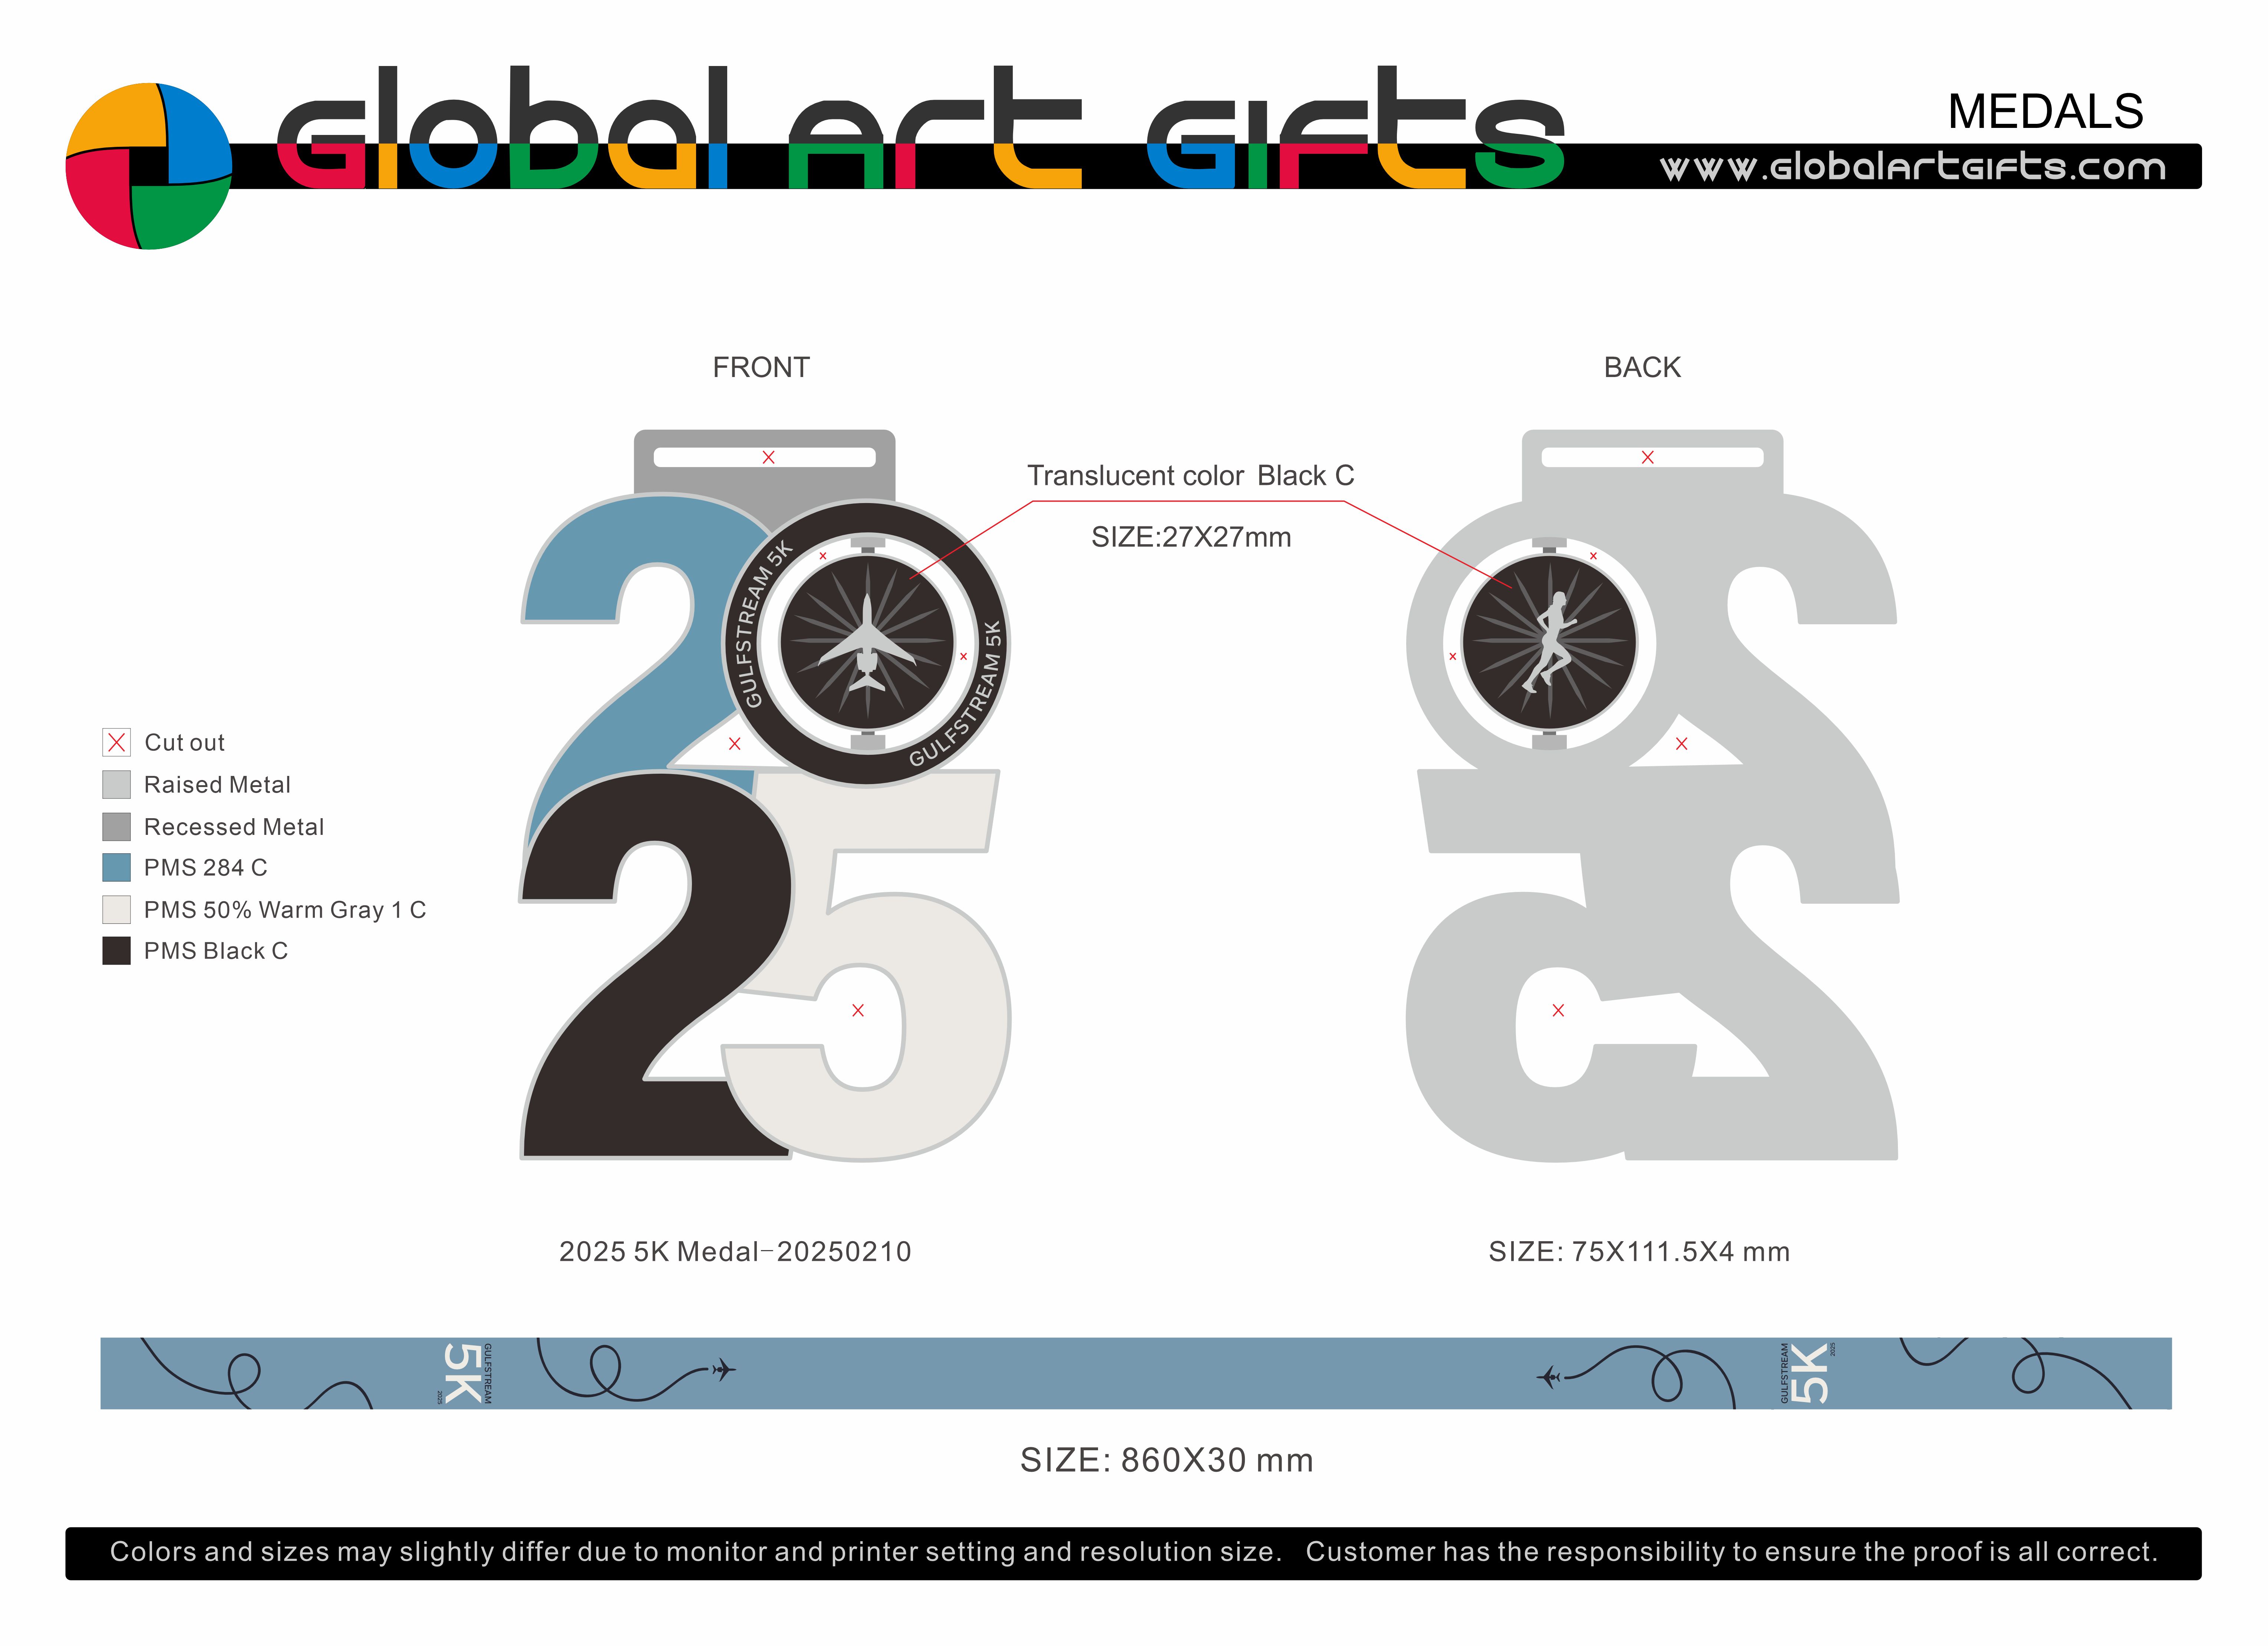
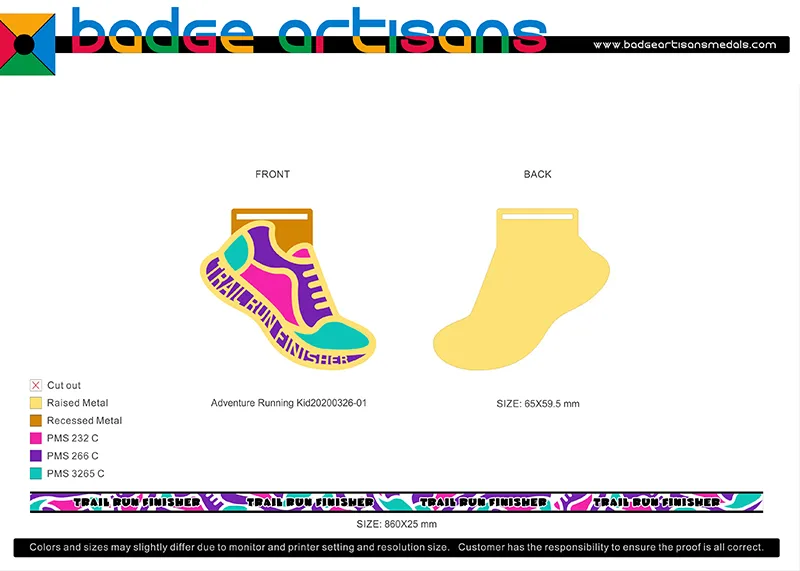
Our design team produces a free proof within 24 hours with unlimited revisions. Minimum order is 100 pieces per design, samples take 7 to 10 days, and production ships in 7 to 15 days after approval. If you want the full flow, our medal manufacturing process page covers all 12 steps, and our design guide walks through preparing artwork. For a proof of your own idea, reach us through our contact page.
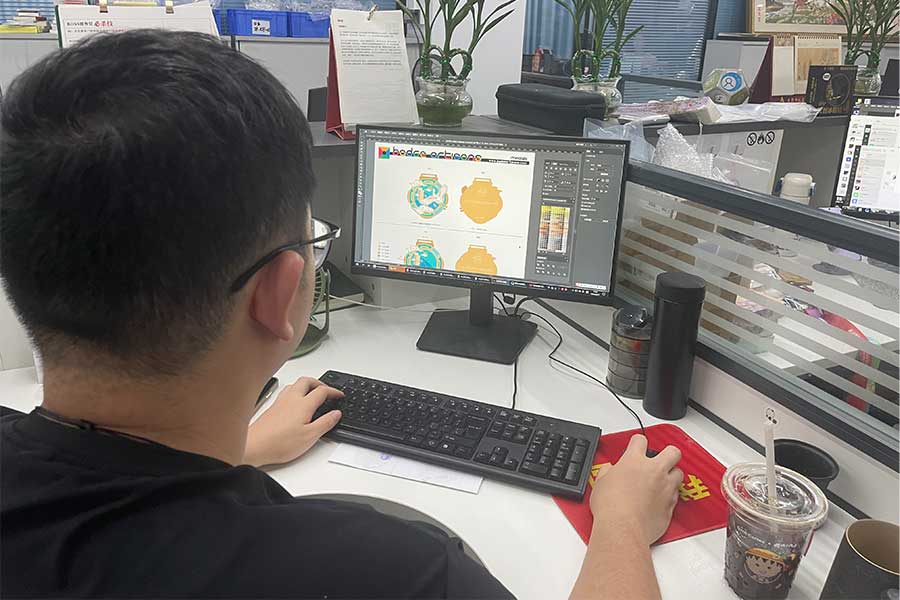
[Image: factory-workshop-04.jpg — Design and production teams reviewing medal artwork before tooling]
FAQ: Medal Design Ideas
Which shape should I pick for a custom medal? Round is the safest default because it balances on a ribbon, fits standard boxes, and photographs cleanly. Choose a custom silhouette when you want the medal shape itself to carry your identity — die-casting handles those outlines and cutouts well. Shield and crest shapes read formal, which suits academic and service awards.
What’s the minimum enamel fill width? Soft enamel fills recessed areas as narrow as 0.3mm. Imitation hard enamel requires a 0.5mm recess because it goes on thicker before being ground flat. Designs with lines thinner than these limits will show bridging, bleeding, or skipped color.
Can I put a photo or gradient on a medal? Yes, with UV print. UV printing lays four-color process directly onto flat or slightly contoured surfaces and tolerates up to about 7mm of relief drop, so it handles gradients, photographs, and finely shaded logos that enamel colors can’t reproduce.
How deep can the 3D relief be? Zinc alloy die-casting with an 88-ton press produces fine 3D relief in a single shot, which is why it’s our default for sculpted designs. Practical relief depth depends on the design’s geometry — wall thickness of at least 2mm, adequate draft, and avoiding undercuts that would complicate the mold. Share your concept and our designers will confirm what’s achievable.
What artwork file should I send? Vector files are ideal — AI, EPS, or CDR. If you only have a JPEG or PNG, that’s workable; our free design service will redraw it into production-ready vector artwork at no cost, usually within 24 hours.
How many colors should I use? Use as few as carry meaning. Every enamel color is a separate fill-and-bake cycle — the low-temperature cure runs 60 to 70°C for 60 to 90 minutes and the full cure is 100°C for 60 minutes. Consolidating colors lowers cost without changing how the medal reads.
Recommended Reading
- Custom Medal Design Tips From a Manufacturer — what a factory wishes designers knew
- Custom Shaped Medals: A Design Guide — going beyond the round medal
- How to Spot Quality Issues in Custom Medals — the defects to look for in a proof
Data to confirm: production limits described (0.3mm and 0.5mm minimum fill widths, 2mm minimum wall, ~7mm print relief tolerance) reflect our standard capability and may vary with specific geometry. Confirm against your artwork before tooling.