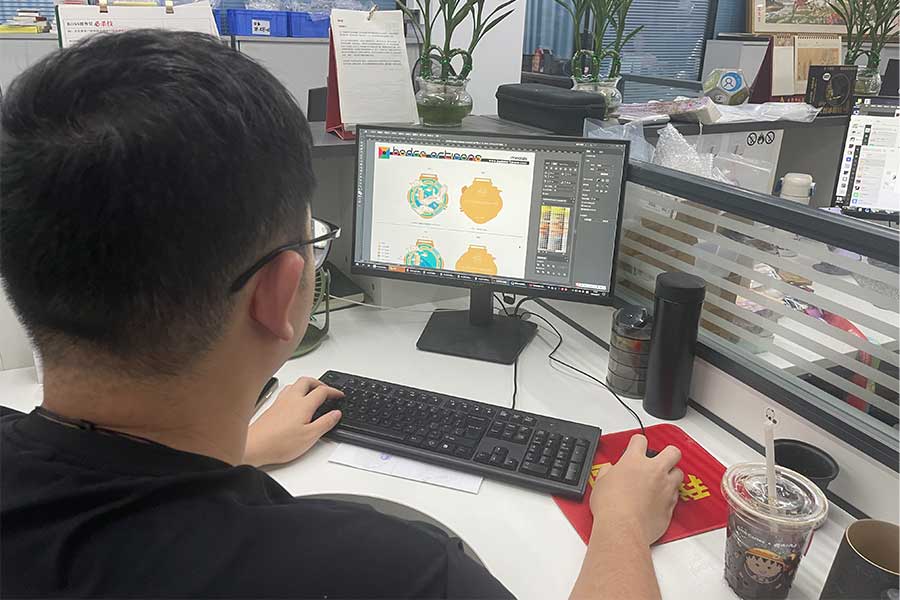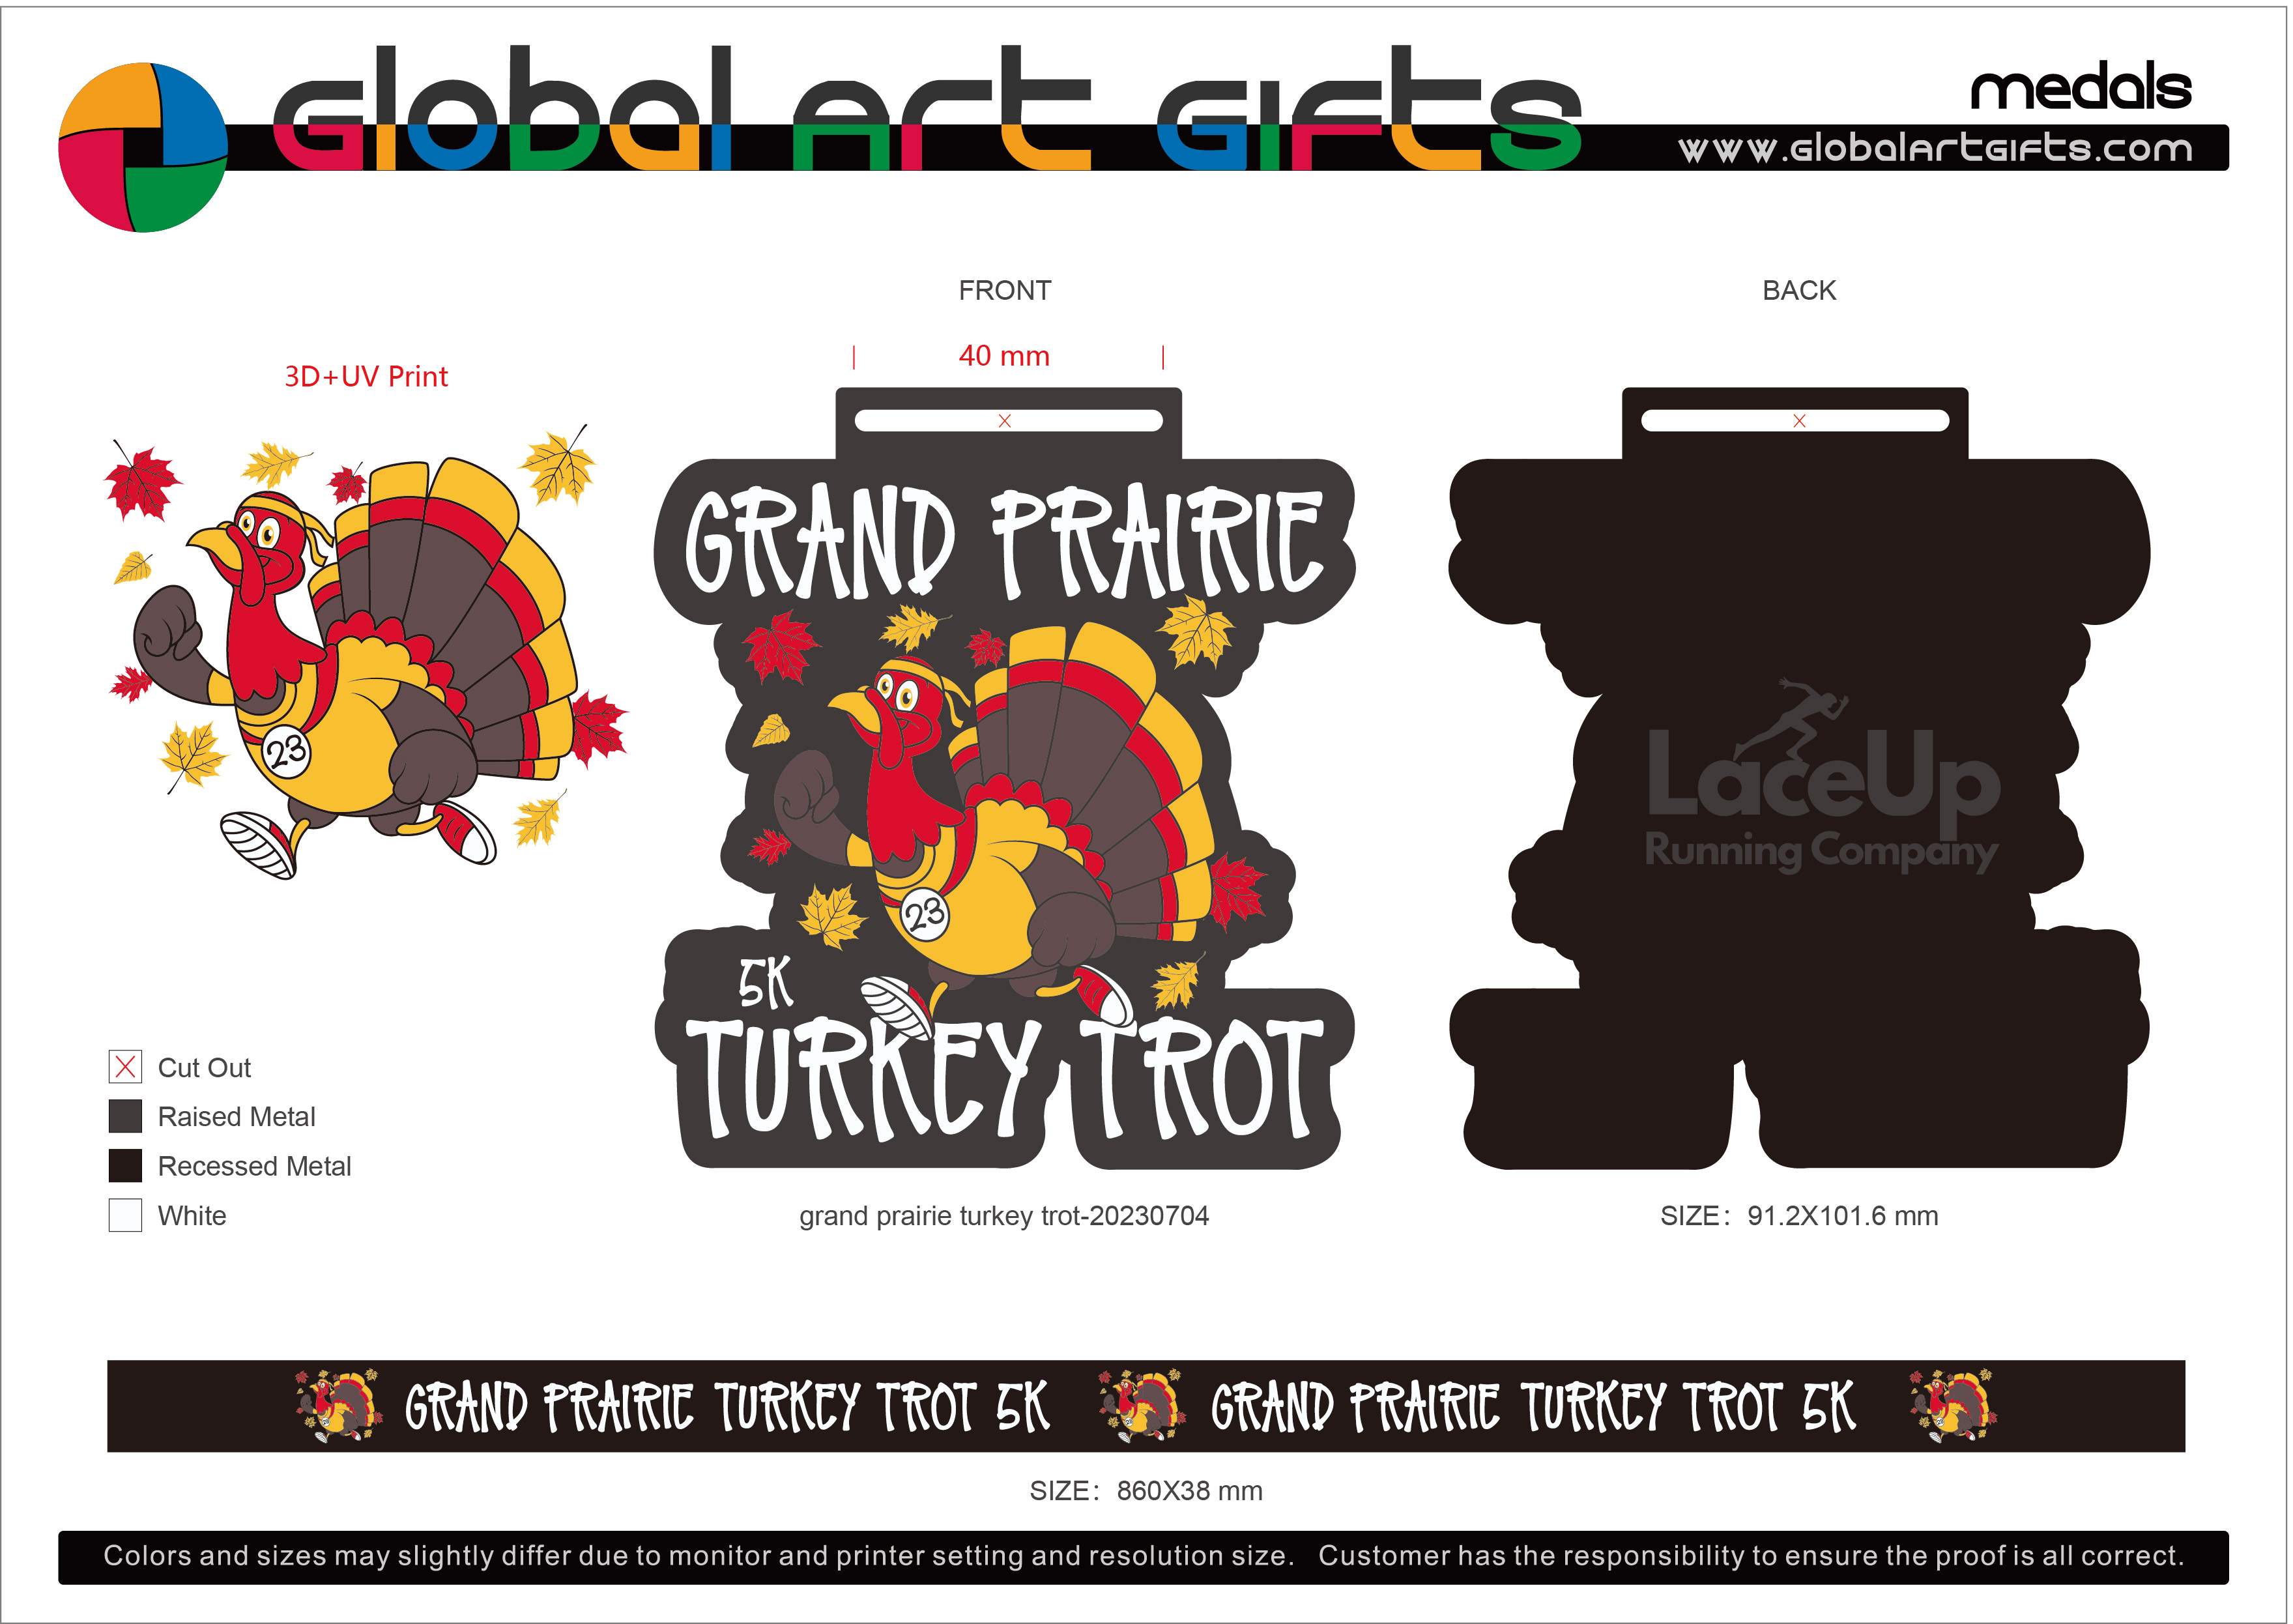
A lapel pin is the smallest object we make and the easiest one to get wrong. Everything about it is a compromise against scale: a logo that reads beautifully at 70mm on a medal turns to mush at 20mm on a pin, and the fix is a design decision, not a manufacturing one. We have been casting metal awards at our Huizhou factory since 2010 — custom medals, commemorative coins, and pins off the same die-casting line — and the pin orders that go smoothly are almost always the ones where the buyer understood those compromises before the artwork started.
This guide is written for people specifying pins for the first time, and for people who have ordered before and want to know why a quote came back higher than expected.
What we’ll cover:
- The four pin constructions, and what each is actually good at
- Base metal: zinc alloy vs brass vs iron, and why most pins land on zinc
- Size and thickness — what reads at 15mm and what needs 30mm
- Attachments, which are the part buyers under-specify most often
- Plating and enamel, including the process steps that decide whether a pin still looks good in three years
- Design rules for small-scale metal
- Cost drivers, MOQ, and a realistic timeline
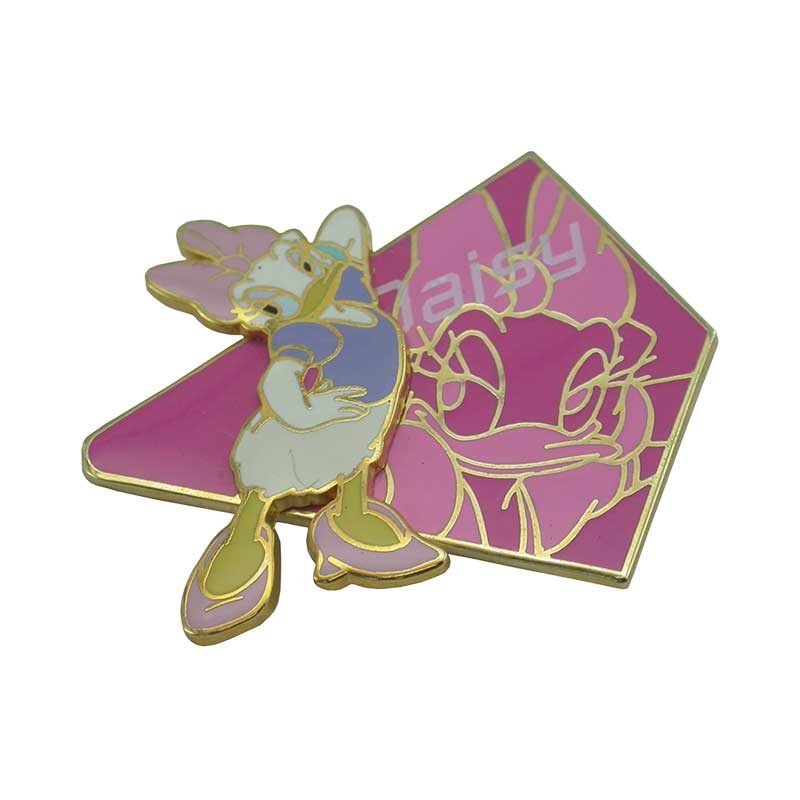
[Image: custom-lapel-pins-buyers-guide.jpg — Finished custom enamel lapel pins in assorted shapes and plating finishes]
The Four Pin Constructions
“Custom pin” describes four different products. Picking between them is the first decision, and it drives price, appearance, and how much of your logo survives.
| Soft Enamel | Hard Enamel | Die-Struck | 3D Die-Cast | |
|---|---|---|---|---|
| Surface | Recessed color, raised metal lines you can feel | Polished flat, glass-smooth | No color — bare metal, raised and recessed | Sculpted, dimensional, optional color |
| Feel | Textured, tactile | Smooth, jewelry-like | Solid metal, weighty | Sculptural |
| Best for | Logos with 2–5 colors, clubs, awareness pins | Premium brand pins, retail, executive gifts | Formal crests, monograms, military and institutional | Mascots, characters, emblems with depth |
| Color matching | Pantone-matched | Pantone-matched | None | Pantone-matched where filled |
| Relative cost | $ | $$–$$$ | $$ | $$–$$$ |
| Typical size | 15–30mm | 15–30mm | 18–35mm | 20–35mm |
Soft enamel is the workhorse and the one we quote most often. The pin is cast or struck, plated, then the recessed areas are filled with enamel paste by hand and baked. Because the fill cures slightly below the metal line, you feel the raised metal outlines between colors. That texture is the look most people associate with a pin, and it’s the cheapest route to accurate Pantone color.
Hard enamel (imitation hard enamel, in our terminology) goes on thicker and is then ground flat and polished so the color sits level with the metal. The surface is smooth and noticeably more scratch-resistant, which is why it’s specified for retail and executive gifts. The trade-off is a wider minimum fill area and a longer finishing sequence, so it costs more per piece.
Die-struck pins have no color at all. The design is struck into solid metal, and everything you see is relief and plating contrast — often antique, where the recesses darken and the raised areas stay bright. This is the right choice for formal crests, institutional seals, and anything that should look like metal rather than like a printed image.
3D die-cast pins are sculpted rather than flat. A mascot, an animal, a piece of equipment — anything where depth carries the identity. These are cast in zinc alloy on the same 88-ton machines we use for medals, which is what makes real dimensionality possible at a pin-sized budget.
If you’re unsure, the honest default is soft enamel on die-cast zinc. It handles the most designs, matches color accurately, and sits at the low end of the price range — and if the design later proves too detailed for 20mm, converting the same art to die-struck is straightforward.
Base Metal: Why Most Pins Are Zinc
The metal under the enamel sets the weight, the detail ceiling, and a good part of the price.
| Zinc Alloy (die-cast) | Brass (stamped) | Iron (stamped) | |
|---|---|---|---|
| Density | 6.7 g/cm³ | 8.9 g/cm³ | 7.8 g/cm³ |
| Process | Die-casting at 385°C | Stamping | Stamping |
| Detail | Excellent — 3D relief, cutouts, undercuts | Crisp but shallow | Simple flat shapes |
| Corrosion | Good | Good | Will rust if plating wears through |
| Relative cost | $$ | $$$ | $ |
| Best for | Mascots, cutouts, most designs | Formal crests, retail-grade pins | High-volume simple pins, tight budgets |
Zinc alloy is our default, and the reason is a physical one rather than a commercial one. Zamak 3, 5 and 7 melt at 385°C and flow into a mould cavity with the consistency of warm honey. On our 88-ton die-casting machines that flow is what lets a pin hold a raised outline down to a fine line, a cut-out letter, or a sculpted contour — details that stamping simply pushes metal around instead of into.
Brass is heavier at 8.9 g/cm³ and carries a warmth that reads as quality the moment someone picks it up, which is why we steer it toward formal unit crests and retail-grade pins. It is stamped rather than cast, so it can’t hold deep relief, and it costs more. Iron is the budget option for flat, simple designs at volume; the caution is that if the plating is breached, iron rusts.
For pins specifically, there’s one more consideration that doesn’t apply to medals: weight against fabric. A pin sits on a lapel, a lanyard, or a name badge, and a heavy piece pulls the cloth or rotates on the post. That’s an argument for zinc over brass on anything larger than about 25mm that will be worn on light fabric.
Size and Thickness
Pins scale differently from medals. On a medal, going bigger gives you more room for a scene; on a pin, going bigger mostly gives you more problems — weight, rotation, and a design that looks empty.
| Size | Reads as | Realistic detail budget | Typical use |
|---|---|---|---|
| 15–18mm | A discreet mark | 1–2 elements, bold shapes only | Name-badge pins, subtle brand marks |
| 20–25mm | Standard lapel pin | A crest or logo with 2–4 colors | Club pins, qualification pins, unit ID |
| 25–30mm | Statement pin | Crest plus text ring, moderate detail | Commemorative pins, association pins |
| 30–35mm | Large / badge-scale | Full crest with motto text | Formal insignia, ceremonial badges |
Thickness runs 1.2–2.0mm for most enamel pins. Going thicker adds heft and cost without adding much, because the relief depth — the thing you actually see — is governed by the mould, not by the blank thickness. Where thickness does matter is on cut-out designs: a thin piece with several cut-outs gets fragile, so we will usually recommend adding 0.2–0.4mm if your art has three or more open areas.
One practical rule we give buyers: size the pin to the smallest legible version of your logo. If your crest has a motto in small type around the perimeter, that text is what sets the minimum diameter — not the central image.
Attachments: The Part Buyers Under-Specify
More pins fail at the attachment than at the enamel. A pin that falls off a lapel is a pin the recipient stops wearing, and the fix is a few cents at the specification stage.
| Attachment | Security | Best for | Notes |
|---|---|---|---|
| Butterfly clutch | Moderate | Standard lapel pins, occasional wear | The default; replaceable if it loosens |
| Rubber clutch | Moderate | Pins worn on thicker fabric | Grips better than metal, comfortable |
| Double post with two clutches | High | Larger pins, anything prone to rotating | Two posts stop the pin spinning |
| Screw back | Highest | Heavy or high-value insignia | Slowest to attach, most secure |
| Magnetic backing | Moderate | Garments you don’t want to pierce | Convenient; can shift, not for heavy pins |
| Safety-pin back | Low | Temporary or light use | Not for daily wear |
The failure mode worth designing around is rotation. A single post on a pin wider than about 25mm, or on any pin with an off-centre shape, will slowly rotate under its own weight until the design sits sideways. A double post solves it, and it costs very little — we recommend it as the default for anything above 25mm or any non-symmetrical outline.
For uniforms and formal wear, a double post or screw back is the right specification. A single butterfly clutch can work loose, which matters when appearance standards are enforced. For corporate programmes where recipients pin to a range of garments, magnetic backings are popular because they don’t pierce fabric — just note they’re not suitable for heavy 3D pieces.
On the manufacturing side, the post is riveted to the back of the casting before surface treatment, not glued on afterwards. That’s a deliberate sequence: a post attached after plating sits on top of the finish rather than in the metal, and it’s the first thing to come off.
Plating and Enamel: What Decides How It Looks in Three Years
Two pins with identical artwork can age very differently, and the difference is almost entirely in the finishing sequence.
Plating is applied tank by tank. We degrease and strip the raw casting, then lay down an alkaline copper base of roughly 500 seconds, then an acid copper layer for 20–60 minutes to build lustre, then the final colour, then a tunnel oven at 100°C for about 40 minutes and a clear oil seal. The copper base is the step that matters for longevity: it’s what stops the finish lifting at the edges a year later. Budget suppliers cut the dwell time or skip the strike entirely, and you cannot see the difference in a proof photograph — you see it when the plating starts to flake.
Electroplated mirror colours include imitation gold, nickel, copper, rose gold, chrome, black nickel and platinum; matte versions are available in gold, nickel and copper. Antique finishes — antique gold, antique silver, antique copper, matte black — are applied by electrophoresis or barrel plating in a single pass, which is why an antique finish can actually cost less than a mirror one despite looking more expensive.
On small parts, antique finishes do more than look good. They darken the recesses, and that contrast is what makes a detailed crest legible at 20mm. A bright mirror finish on an intricate 20mm pin turns into glare at any distance.
Enamel fill follows plating for soft enamel. Minimum fill width for soft enamel is 0.3mm; imitation hard enamel needs a wider 0.5mm recess because the paste is thicker and gets ground back. Baking runs in two stages — a low-temperature cure at 60–70°C for 60–90 minutes to semi-set the fill, then 100°C for 60 minutes to cure it fully. Every colour is a separate fill-and-bake pass, which is why colour count shows up on your invoice: a four-colour pin is four passes with handling between each.
Colour is matched to Pantone references. Our mixing station tints the paste against the physical chip under colour-corrected lighting, and we archive the formula, so a reorder two years later matches the original batch. Expect a small tolerance — baking darkens certain pigments slightly — and we adjust for that during mixing.
Design Rules for Small-Scale Metal
This is where most first-time pin orders go wrong. What follows are the rules we apply when we redraw artwork for production.
Silhouettes beat scenes. A bold outline survives scaling down; a detailed scene doesn’t. If your logo includes a building, a landscape, or a group of figures, reduce it to its outline before you shrink it.
Thin lines disappear. Fine rules and hairline strokes either fill in during casting or break during polishing. As a working guide, keep metal lines above roughly 0.3mm and colour areas above the same threshold for soft enamel — narrower than that and the fill bleeds or the line washes out.
Text needs size or needs cutting. Small text is the single most common disappointment. Either set it large enough to read at the finished diameter, or move it off the pin entirely and put it on the backing card. A motto ring around a 20mm crest is rarely legible; the same motto on a 30mm pin works.
Cut-outs add character and cost. Cut-out areas (openwork) make a pin look designed rather than stamped, and die-casting handles them well. Each one adds a little finishing time, and enough of them makes the piece fragile — so use them deliberately rather than everywhere.
Contrast is free. Using an antique finish, or dual plating, gives you two tones from one metal body with no colour added. On a crest where the design relies on outline rather than colour, that’s usually the better answer than adding a fifth enamel colour.
Work from vector. AI, PDF or CDR files. A JPEG logo is a fine starting point — our design team redraws raster art as part of the free design service — but vector is what keeps edges crisp at 20mm.
What Actually Drives Pin Pricing
Five variables, in order of impact.
| Driver | Impact | How to control it |
|---|---|---|
| Quantity | Largest | Consolidate variants into one order |
| Construction | Large | Soft enamel before hard enamel or die-struck |
| Size | Moderate | Size to the smallest legible version of the logo |
| Colour count | Moderate | Cut colours that don’t carry information |
| Attachment | Small | Upgrade here rather than on metal — it’s cheap and it’s what fails |
Our minimum is 100 pieces per design. That floor exists because the mould is a fixed cost: the steel tool costs the same whether you cast 100 pins or 10,000 through it, so below roughly 100 pieces the per-unit figure climbs steeply. Reorders of an existing design skip that cost entirely, because we hold tooling on file.
If your programme needs fewer than 100 of a given variant, the usual solutions are to run one shared body design and carry the variation in plating, or to consolidate several variants into a single order against one tool.
Our floor runs 30,000+ pieces a day across all product types, so a 500-piece pin order is a normal slot in the schedule rather than a special case. Every order passes three-stage QC — after casting, after plating, and after assembly — and we hold a 100% qualified delivery rate as the standard, not as a marketing line.
Timeline: What to Plan For
The sequence is the same one we run for medals and coins: quote within 24 hours, free design proof within 24 hours of artwork, physical sample in 7–10 days, then bulk production in 7–15 days after sample approval, then freight.
| Stage | Standard |
|---|---|
| Quote | Within 24 hours |
| Free design proof | Within 24 hours of artwork, unlimited revisions |
| Physical sample | 7–10 days |
| Bulk production | 7–15 days after sample approval |
| Three-stage QC | Runs with production |
| Air freight to US/UK/EU | 5–10 days |
Budget three to five calendar days inside that window for design revisions. Adjusting a colour reference, resizing text and deciding between antique and bright finishes is normal, and it’s the part of the schedule first-time buyers don’t allow for.
The sample is worth the wait. A pin is a small object seen up close, and enamel colour on plated metal under room lighting does not match a screen proof. The sample is the only way to verify it before committing.
Where Pins Fit Alongside Medals, Trophies and Coins
Most organisations that order pins also order something else, and specifying the set together is where the savings are.
A school or district programme, for instance, might run place medals for the podium, a trophy for the team title, and a lapel pin for every participant to wear home. Sourced separately, those three items arrive in three finishes that don’t quite match. Sourced as one programme, the crest artwork, Pantone colours and plating family are shared across all of them, and the mould cost is amortised once rather than three times.
The same applies to corporate programmes — a service medal for the stage and a pin for the name badge — and to military and association orders where a military medal, a unit pin, and a challenge coin all carry the same crest. Our custom pins and badges line covers the pin side of that set in soft enamel, hard enamel or die-struck metal; the enamel medals page covers the colour-fill options on the medal side, and our custom trophies range handles the single showcase piece. Volume pricing across a combined programme is on the bulk custom medals page.
One honest boundary: we are a metal house. If your brief calls for an embroidered patch, a woven label, or a soft PVC badge, that’s a different supply chain with different tooling, and we’ll tell you so rather than quote it badly.
FAQ: Custom Lapel Pins
What’s the difference between soft enamel and hard enamel pins? Soft enamel leaves the colour slightly below the metal line, so you feel the raised metal outlines between colours — it’s the classic pin look and the more affordable option. Hard enamel is filled thicker, then ground and polished flat for a smooth, jewelry-like surface that resists scratching better. Hard enamel needs a wider minimum fill area (0.5mm against 0.3mm for soft enamel) and costs more.
What metal should I choose for a lapel pin? Zinc alloy for most designs. Zamak 3, 5 and 7 melt at 385°C and flow into the mould on an 88-ton die-casting machine, which is what allows 3D relief, cut-outs and fine outlines. Choose brass when weight and a formal feel matter more than relief, and iron for simple flat shapes at the lowest cost — with the caveat that iron rusts if the plating is breached.
How small can I go, and will my logo still read? 15mm is about the floor for a legible design, and at that size you get one or two bold elements and no small text. 20–25mm suits most logos with two to four colours. If your crest has a motto ring or fine type, size the pin to that text rather than to the central image — otherwise the type is the first thing to disappear.
What attachment should I specify? A butterfly or rubber clutch is fine for standard pins up to about 25mm. Above that, or on any asymmetrical shape, specify a double post — a single post will slowly rotate the pin until the design sits sideways. For uniforms and formal wear use a double post or screw back; magnetic backings are convenient but not suitable for heavy 3D pieces.
Why does adding a colour change the price so much? Because every colour is a separate fill-and-bake pass. The paste is applied by hand into the recess, semi-cured at 60–70°C for 60–90 minutes, then fully cured at 100°C for 60 minutes, with handling between each colour. A four-colour pin is four passes. Cutting one colour that isn’t carrying information is usually the most effective saving available.
What’s the minimum order and how long does it take? 100 pieces per design, driven by the fixed cost of the steel mould. Timeline is a quote in 24 hours, a free design proof within 24 hours of artwork, a physical sample in 7–10 days, and bulk production in 7–15 days after approval. Reorders of an existing design have no mould cost and run faster.
Getting Started
Send us a logo, a sketch, or a photograph of a pin you like, along with an approximate size, quantity and colour count. You don’t need finished artwork — the design team produces the production file, and the proof and revisions are free.
You’ll have a quote and a design proof within 24 hours, a physical sample in 7–10 days, and a finished run in 7–15 days after you approve it, with three-stage QC before anything ships. If you’re specifying a pin alongside medals, coins or a trophy, send the whole list at once so we can quote the programme on one tooling budget. Start with our contact page.
Data to confirm: relative cost tiers and size guidance reflect standard manufacturing direction rather than a fixed price list. Final per-piece pricing depends on artwork complexity, construction, colour count, attachment and order quantity. Confirm current MOQ and lead times with the factory before quoting onward, as seasonal demand can shift the schedule.
Related: custom spinning medals — our spinning medal range: a moving inner disc on a die-cast body, 100-piece minimum.